Cordless & 12V
Practical tips and clear steps for cordless 12v.
This page covers cordless 12v in a practical, step-by-step way. You’ll learn what matters most, what to avoid, and how to get better results with fewer headaches.
Use the sections below as a simple checklist.
Key highlights
- Key steps that matter most for cordless 12v
- Safety and setup checkpoints to avoid problems
- Common mistakes and how to prevent them
- Practical improvements you can apply today
How to choose (and common mistakes)
When choosing an approach for cordless 12v, prioritize safety and repeatability. Start with the simplest method that fits your situation. Avoid changing multiple variables at once, and always validate your setup before you scale up.
⚡ Quick Picks
Three strong options to start with. Pick one that matches your goal, then jump to the guides below.

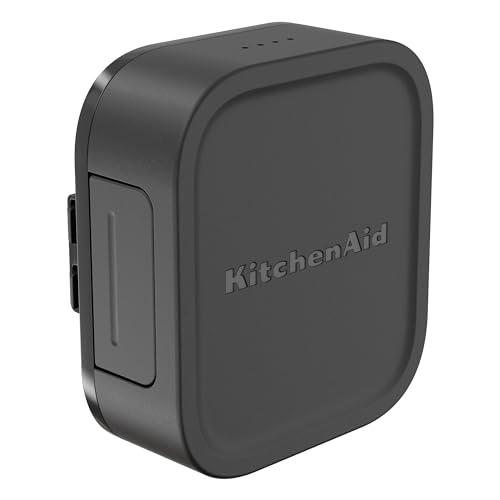
KitchenAid Go™ Cordless 12V MAX Lithium Ion Battery, KRB12
Move your appliance around the kitchen with ease, without limitations of cords o…
12v MAX battery provides optimal runtime and performance – max initial battery voltage (measured without a workload) is 12 volts; nominal voltage is 1…
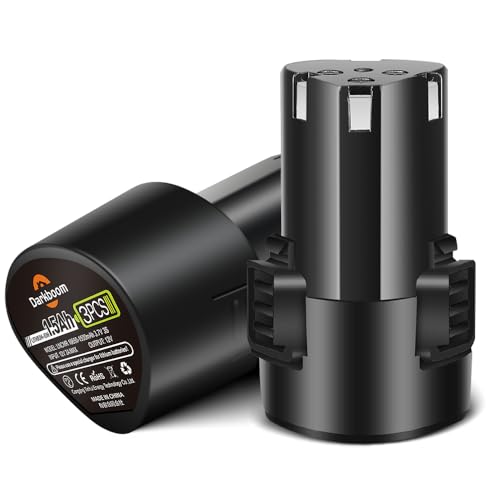
2 Packs Lithium 12V Batteries with a Battery Charger,1.5Ah Battery for 12V Cordless Power Tools,12V Battery Packs for Weed Eater,Sander,Cordless Drill,Buffer Polisher
Product combination: 2 batteries | Voltage: 12V | Battery capacity: 1.5ah,1 batt…
Upgraded lithium-ion battery unit: Employing high-performance lithium-ion batteries, the device can undergo approximately 500 charge cycles. This tech…
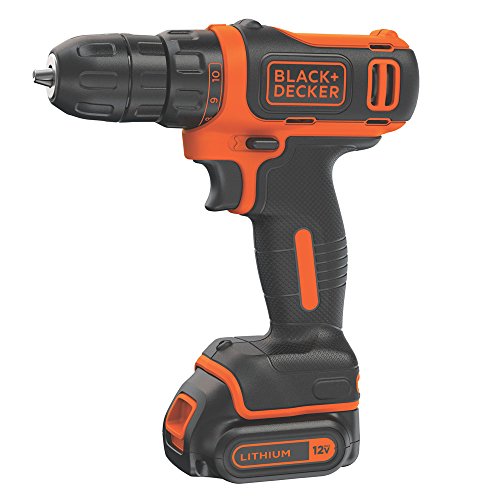
BLACK+DECKER 12V MAX Cordless Drill/Driver, Battery and Charger Included (BDCDD12C)
Keyless chuck for quick and easy bit changes
Compact and lightweight to fit into tight spaces
We test and compare dozens of models to recommend only the best performers for your kitchen.
Related Topics
Tank Size Guide
Latest Guides

Best Small Portable Air Compressors: 9 Top Picks
Discover the best small portable air compressors that cater to various needs. These models are designed for convenience and efficiency, making them ideal for…
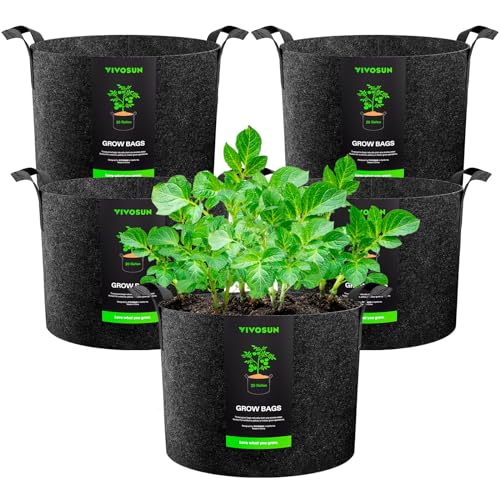
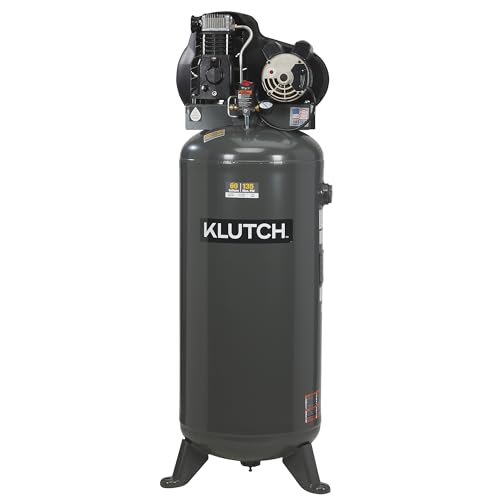
VIVOSUN 5-Pack 20 Gallon Plant Grow Bags vs Klutch 29-Gallon Air Compre…
The VIVOSUN 5-Pack 20 Gallon Plant Grow Bags and Klutch 29-Gallon Air Compressor serve very different purposes, catering to gardening enthusiasts and DIYers alike.…

Best Gas Powered Air Compressors: 9 Top Picks
Discover the best gas powered air compressors that cater to various needs. These selections highlight efficiency and reliability for both professionals and DIY enthusiasts.…
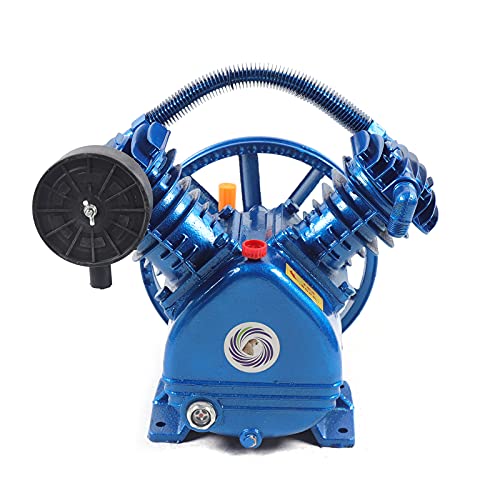
Understanding the Functionality of a 2 Stage Air Compressor
A 2 stage air compressor is a type of compressor that uses two cylinders to compress air in two distinct phases. In the first…

Best Oil Lubricated Air Compressors: Top Picks for 2026
Oil lubricated air compressors are known for their durability and efficiency. They provide consistent performance for various applications, making them a popular choice among…

Best Pancake Air Compressors: 9 Quiet Picks
Pancake air compressors are known for their portability and efficiency. They are ideal for a variety of tasks, from inflating tires to powering tools.…

Best 30 Gallon Air Compressors: 9 Top Picks
Discover the best 30 gallon air compressors available today. These models are designed to meet various needs, providing reliability and efficiency for your projects.…
Best Stationary Air Compressors: 9 High-Potency Picks
Discover the best stationary air compressors available today. Our curated list highlights high-potency options that cater to various needs and preferences. Scroll down to…

Best Cordless Tire Inflators: 9 Top Picks for 2026
Cordless tire inflators offer convenience and portability for on-the-go inflation needs. Whether you're at home or on a road trip, these devices ensure your…
How We Choose & Recommend
Short, practical guidance first—then product picks when you are ready.
- We compare features and real-world use cases for Cordless & 12V.
- We scan user feedback for patterns (not one-off opinions).
- We call out trade-offs so you can pick confidently.
FAQ
What’s the best first step for cordless 12v if I’m new to it?
Begin with a simple setup that matches how you’ll actually use it. Do one short test run, verify the result, and only then add extra features or steps. This approach prevents early mistakes and makes it easier to see what’s working.
What mistake causes the most trouble with cordless 12v?
Skipping the small checks that prevent big problems—like fit, alignment, safety steps, or basic settings. A 60‑second check before you start is usually faster than fixing an avoidable issue halfway through. For best results, focus on the one or two factors that change the outcome most (environment, settings, fit, or technique). Small adjustments here beat big changes elsewhere.
How do I choose the right option for cordless 12v?
Choose based on your use case and constraints: where you’ll use it, how often, how much control you need, and any limits like space or noise. If two options seem close, pick the one with the clearest, simplest workflow. A quick win is to set up the basics first, then do a short trial run to confirm everything behaves as expected. If you see a problem, fix it early before you add complexity.
How can I improve results with cordless 12v without making it complicated?
Lock in the fundamentals first, then refine one small detail that clearly affects the outcome (settings, technique, positioning, or timing). Small improvements compound quickly when the base process is stable. To get reliable results, use a simple checklist: required steps, safety checks, and what to do if the result looks wrong. That keeps you moving without guessing.
When should I stop and get help with cordless 12v?
Stop if there’s any safety risk, if the same failure repeats after basic checks, or if you’re unsure about the correct procedure. It’s better to verify the right method than to push forward and create a bigger problem. If you’re choosing between options, pick the one that matches your use case and constraints (space, noise, speed, skill). The “right” option is the one you’ll actually use safely.
⭐ Our Top 3 Dog Food Picks for 2026
KitchenAid Go™ Cordless 12V MAX Lithium Ion Battery, KRB12
Move your appliance around the kitchen with ease, without limitations of cords o…
12v MAX battery provides optimal runtime and performance – max initial battery voltage (measured without a workload) is 12 volts; nominal voltage is 1…
2 Packs Lithium 12V Batteries with a Battery Charger,1.5Ah Battery for 12V Cordless Power Tools,12V Battery Packs for Weed Eater,Sander,Cordless Drill,Buffer Polisher
Product combination: 2 batteries | Voltage: 12V | Battery capacity: 1.5ah,1 batt…
Upgraded lithium-ion battery unit: Employing high-performance lithium-ion batteries, the device can undergo approximately 500 charge cycles. This tech…
BLACK+DECKER 12V MAX Cordless Drill/Driver, Battery and Charger Included (BDCDD12C)
Keyless chuck for quick and easy bit changes
Compact and lightweight to fit into tight spaces
We test and compare dozens of models to recommend only the best performers for your kitchen.